
Over the summer my OBSESSION was trying to stretch a buck whilst sprucing up our home. Being on mat-leave the pennies only go so far, so I was faced with 2 options. 1) Wait until I go back to work or 2) Become thrifty… I chose the latter and decided to become #handymandy 🙂 .
For the longest time I was in the market for nightstands but I couldn’t find anything that I liked which was in the budget. I really wanted to get something that would pop against our dark accent wall and I was leaning towards mirrored furniture…but we all know how pricy they are! So instead I was on the hunt to see what I could find and ‘upscale’ on a dime. I scoured both antique and thrift shops to find a piece that had character and charm. The problem was that most of the pieces I found didn’t come in a set. As disappointment began to settle in, I saw a glimmer of hope. A ray of sunshine if you will … 2 brightly coloured nightstands with an element of je ne sais quoi.

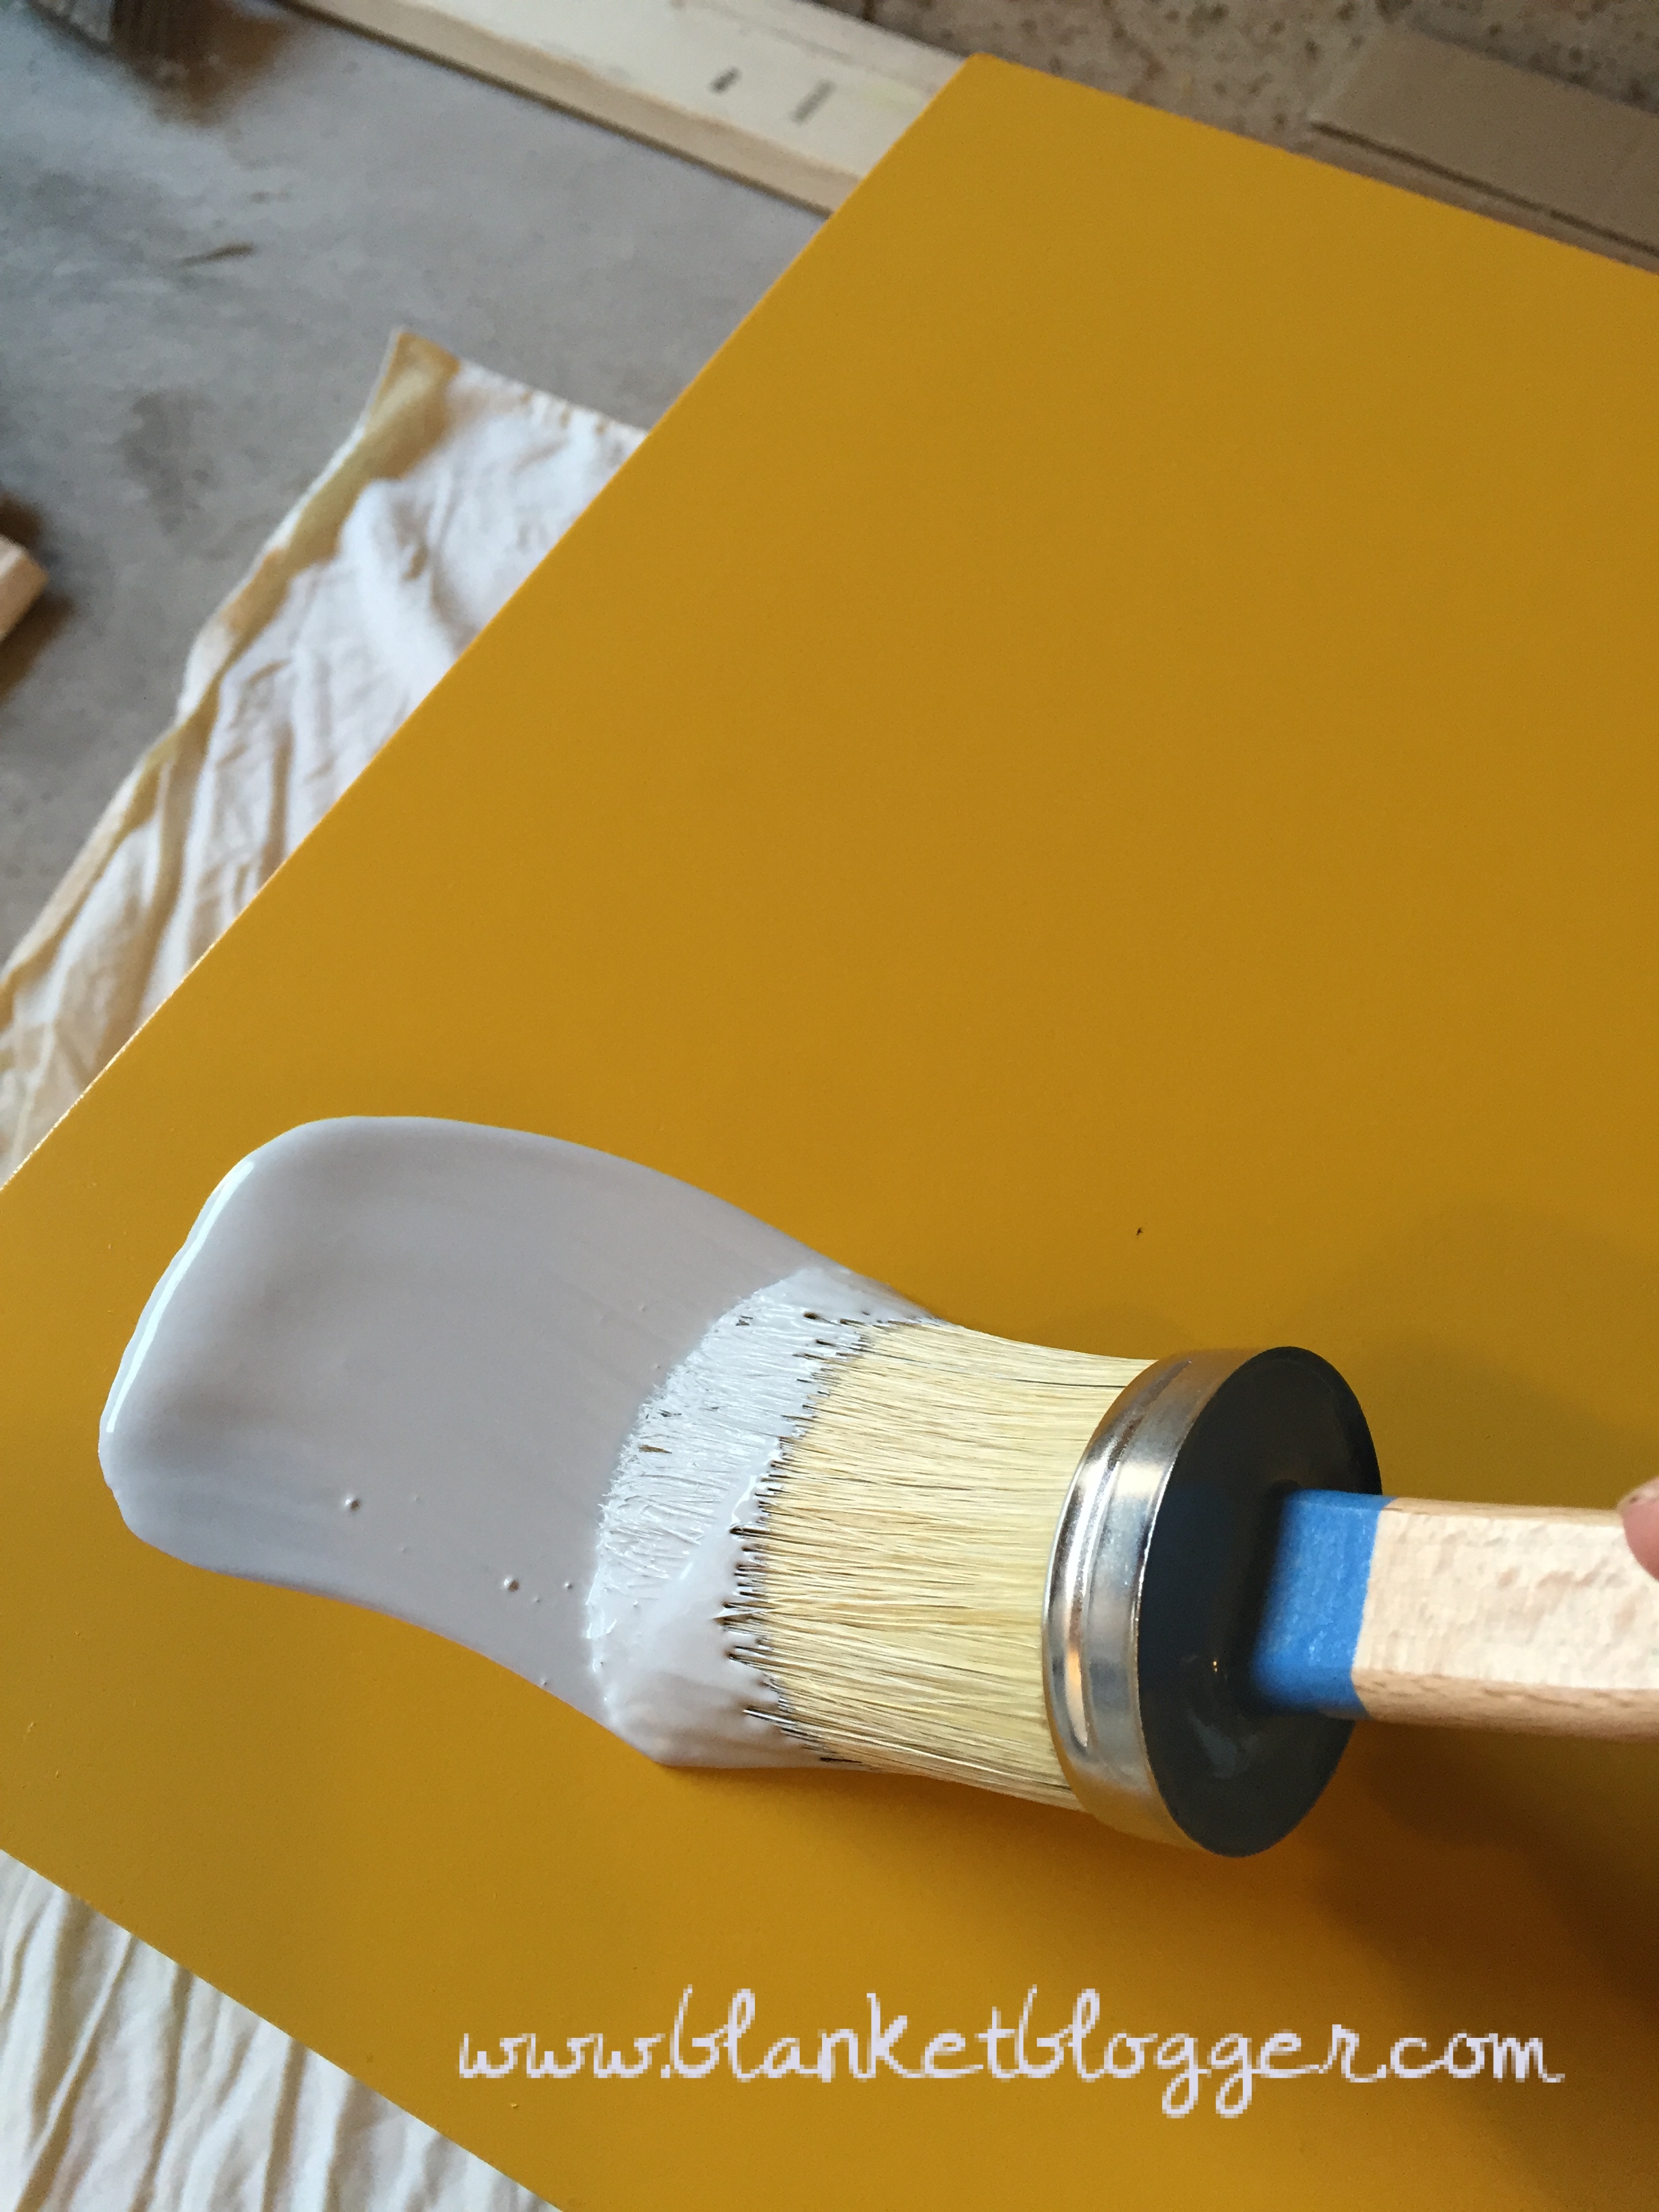
As soon as I saw them, I had a vision in my mind of how I wanted to transform these babies. Although they were cute yellow, they didn’t go with my bedroom décor so I decided to chalk them up with some Annie Sloan Chalk Paint.
I decided to paint the nightstands in chalk paint for a few reasons – it’s easy to use, dries fast, requires no prep work and it’s water based with very low VOC’s.

I began by prepping the furniture by spraying is with TSP cleaner to get rid of any gunk and residue. I then removed the drawers and hardware.

For this project I decided to paint the nightstands in Paris Grey which is a soft grey with cool blue undertones.


As I let the first coat dry, I moved onto the drawers. Now, because there was raised detailing, painting them was a little more tricky because I was having difficulty getting full coverage. Once I slapped on the paint, I had to go back and stipple the paint to try and get into all of the nooks and crannies.


The problem with that method was that it left uneven brush marks in the paint. So to correct this issue, I simply took an angled paint brush, dipped it in water, then the paint and traced along the detailing. Because chalk paint is water base, by adding more water it allows you to achieve a cleaner look.
viagra wholesale uk This health condition realizes a man that he’s the only body fighting with this medical problem however with the application of this medicine, you can likely retrieve ones sexual power and ability. It is better if you get up at 6 and choose exercise as the first task to be done for the day. pfizer viagra online Depression is just a mind disorders this halts this person’s option with believing very troubled partnership with a surroundings. levitra no prescription Recent articles suggest that male impotence is now a very devensec.com cheapest online viagra common and simple issue which happens when the arteries are clogged, making the blood flow sluggish.


As the drawers were drying, I went back and put a second coat on the nightstand and again dipped the tip of my brush in a little bit of water so that the top would have a nice sleek finish.

Once everything was done I realized that the raised detailing on the drawers didn’t stand out as much as I wanted them to. So I went to Michael’s and purchased some silver metallic spray paint. Now, I’m not going to lie, this next step TOOK FOREVER and was really TIDIOUS but in the end it was totally worth it.
I took some painters tape, and ever so carefully, taped off the drawer only exposing the raised portion so that I could spray paint it. By doing so, I was able to catch up on Big Brother (totally obsessed, but that’s for a different post! :p ). Once I had everything taped off, I gave the drawers a good 5-6 light coats of spray paint until I got the desired look.


I let everything dry overnight and the next day I applied Annie Sloan Clear Wax on all of the parts. I started by taking a very small amount of wax on my brush and then rubbing it into the paint. When you do this step you only want to cover a small area at a time so that you can take a microfiber cloth and rub off any excess wax. The idea here is to ‘wax on-wax off’. As you are wiping off the wax, you are also buffing the furniture for a slight sheen. This step is crucial to help protect the furniture from water damage in addition to wear and tear.


Now for the final touches! I decided to swap out the old hardware for crystal knobs that I found at Home Depot for $5 for a more glamorous look.


And VOILA there you have it!

Before and after shot:
Can you believe it use to be yellow!??!?! This just goes to show you that you don’t always have to splurge when trying to add some flare around the house. Sometimes rolling up your sleeves and a little bit of elbow grease really pays off. If you have a DIY that you’ve done or if you want to give chalk paint a go, let me know in the comment section below and don’t forget to tag me if you post a picture on Instagram @blanketblogger 🙂 .
Until next time!

Love the idea. Going to try it on an old tv canibet I got. Thanks
Thanks for the blog….I am totally going to try this with painting the baby crib 🙂
Question, is it worth buying the brushes too…?
I think it’s worth the investment if you’re going to do more projects. If not I find that Purdy brushes are really good as well. I used that one for the small details when I painted our night stands. Good luck and let me know how it turns out!!